Keeping your car running smoothly requires regular maintenance, and checking your engine oil is a fundamental task every driver should be familiar with. Oil acts as the lifeblood of your engine, reducing friction, preventing wear and tear, and keeping it cool. Knowing how to check your engine oil empowers you to monitor its condition and ensure your car operates at peak performance.
Why Check Your Engine Oil?
Regularly checking your engine oil offers several benefits:

- Prevents Engine Damage: Over time, engine oil breaks down and loses its lubricating properties. Low oil levels can lead to increased friction, metal-on-metal contact, and ultimately, engine damage. Checking your oil allows you to top it off before this happens.
- Improves Engine Performance: Properly lubricated engines run smoother and more efficiently. Fresh oil reduces friction, leading to better fuel economy and overall engine performance.
- Extends Engine Life: By preventing wear and tear, regular oil changes and top-offs contribute to a longer engine lifespan.
- Catches Potential Problems: The condition of your engine oil can sometimes indicate underlying issues. Dark, dirty oil, or oil with a metallic sheen could be signs of problems requiring further inspection by a mechanic.
Gathering Your Supplies
Checking your engine oil is a quick and simple process, but it requires a few basic tools:
- Rag or Paper Towels: You’ll need a clean rag or paper towels to wipe the dipstick clean.
- Owner’s Manual: Your car’s owner’s manual will have specific instructions on where the dipstick is located and the recommended oil type and capacity for your vehicle. Consult the manual before starting.
Finding the Dipstick: Under the Hood Exploration
Before diving in, let’s locate the dipstick. This is a long, thin metal rod used to measure the oil level in your engine. In most modern cars, the dipstick is located near the front of the engine block, usually towards the driver’s side. It often has a brightly colored handle (yellow, orange, or red) for easy identification. If you have trouble finding it, refer to your owner’s manual for guidance.
The Art of Checking Engine Oil: A Step-by-Step Guide
Now that you have your supplies and know where to find the dipstick, here’s a step-by-step guide on how to check your engine oil:
- Park on Level Ground: Ensure your car is parked on a level surface. An uneven incline can give you an inaccurate oil level reading.
- Turn Off the Engine: Switch off your engine and allow it to cool down for a few minutes. Ideally, the engine should be warm but not hot to the touch. Hot oil can burn you, and checking the oil level when the engine is cold won’t provide an accurate reading because the oil hasn’t fully circulated yet.
- Locate and Remove the Dipstick: Identify the dipstick using the description in the previous section. Grasp the handle firmly and pull it straight out of its housing. Be careful not to yank on it too forcefully, as you might dislodge it completely.
- Wipe the Dipstick Clean: With your clean rag or paper towel, wipe away any oil from the tip of the dipstick. This ensures you get an accurate reading on the actual oil level.
- Reinsert and Remove the Dipstick: Carefully reinsert the dipstick fully back into its slot. Then, pull it out again slowly and observe the oil level.
Understanding the Dipstick: Interpreting the Reading
The dipstick will have two marked sections, typically indicated by lines or hatched areas. These markings represent the minimum and maximum safe oil levels for your engine.
- Safe Zone: The area between the markings indicates the ideal oil level. If the oil film reaches somewhere within this zone, your engine oil level is good.
- Below Minimum: If the oil film on the dipstick doesn’t reach the minimum mark, your engine oil level is low and needs topping up.
- Above Maximum: Exceeding the maximum level can be just as problematic as running low on oil. If the oil film is above the maximum mark, it indicates overfilling, which can put strain on your engine’s gaskets and seals.
Topping Up Engine Oil: Adding the Right Stuff
If your dipstick reading indicates low oil, here’s how to top it up safely and effectively:
- Consult Your Owner’s Manual: Before adding any oil, refer to your car’s owner’s manual for the recommended oil type and viscosity grade. Using the wrong type of oil can harm your engine.
- Locate the Oil Filler Cap: The oil filler cap is typically located on the top of the engine block. It will usually be labeled with a symbol like an oil can.
- Clean the Area Around the Cap: Before removing the cap, use a rag to wipe away any dirt or debris around the opening to prevent contamination.
- Unscrew the Oil Filler Cap Carefully: Twist off the cap slowly and carefully. Be mindful that some oil might drip out, so have a rag handy to catch any spills.
- Add Oil Slowly: Using a funnel to avoid spills, start by adding a small amount of oil, around half a quart.
- Recheck the Dipstick: Replace the oil filler cap securely and then recheck the oil level on the dipstick using the same steps outlined earlier. Don’t overfill – aim to keep the oil level within the safe zone on the dipstick.
- Repeat as Needed: Continue adding oil in small quantities and checking the dipstick after each addition until the oil level reaches the recommended range.
Pro Tip: Keep a spare quart of the recommended oil in your trunk in case you need to top up your engine oil on the road.
When to Call in a Professional: Signs of Engine Trouble
While checking and topping up your engine oil is a simple DIY task, there are situations where it’s best to consult a professional mechanic:
- Black, Dirty Oil: If your engine oil appears excessively dirty or black, it could indicate a buildup of sludge or debris. This might necessitate an oil change and further inspection by a mechanic.
- Metallic Sheen in the Oil: The presence of metallic particles or a glittering metallic sheen in your engine oil can be a warning sign of internal engine wear. Seek professional help for diagnosis and potential repairs.
- Burning Oil Smell: A strong burning oil odor emanating from your engine could indicate an oil leak or excessive oil burning. Let a mechanic investigate the source of the smell.
- Rapid Oil Loss: If you find yourself needing to top up your oil frequently, it suggests there might be a leak somewhere in the engine system. A mechanic can pinpoint the source of the leak and fix it.
The Importance of Regular Oil Changes
Checking your engine oil regularly is crucial, but it’s just one part of a comprehensive engine maintenance routine. Regular oil changes are essential for optimal engine health. During an oil change, the old, dirty oil is drained and replaced with fresh oil. The oil filter, which traps contaminants, is also replaced.
How often you need an oil change depends on several factors, including your car’s make and model, driving habits, and the type of oil used. Consult your owner’s manual for the recommended oil change intervals for your specific vehicle.
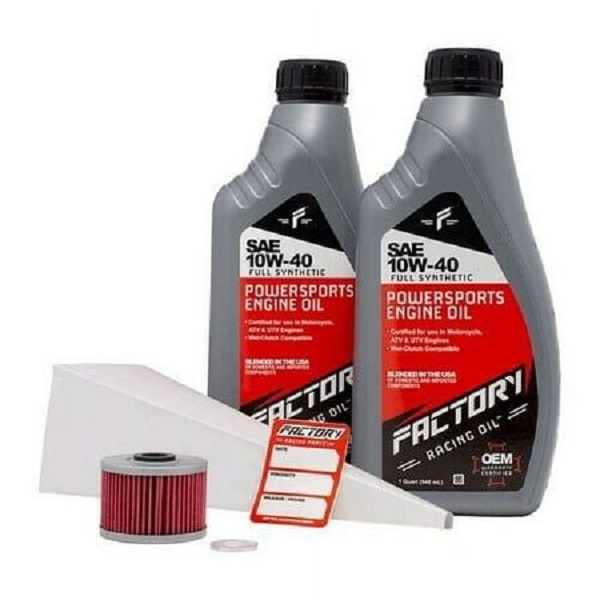
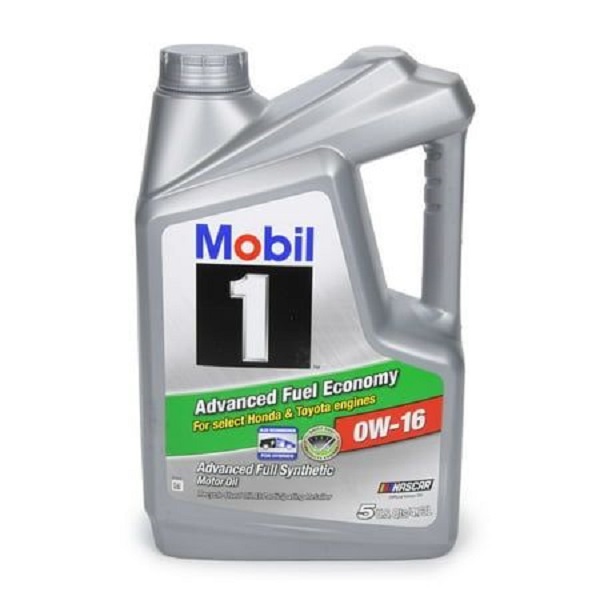
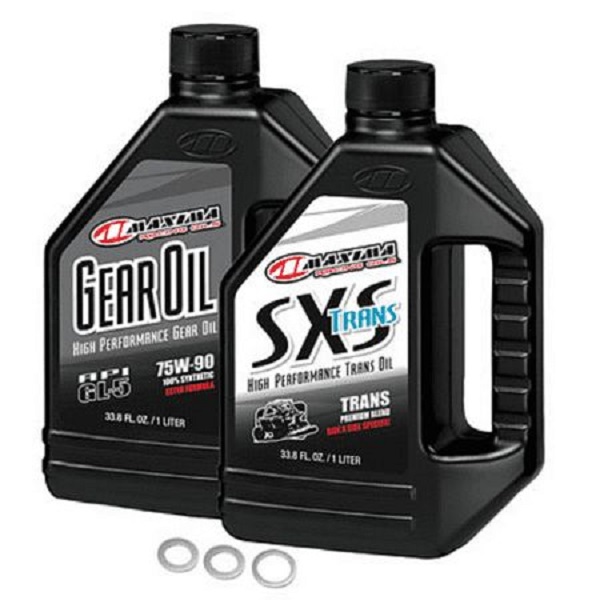
Invest in Your Ride: Shop High-Quality Engine Oil
Keeping your engine well-lubricated is an investment in the longevity and performance of your car. When it comes to topping up your engine oil, choose high-quality oil from a reputable brand. Look for oil that meets the American Petroleum Institute (API) standards and specifications recommended by your car’s manufacturer.
We offer a wide selection of top-quality engine oils formulated for various vehicle types and driving conditions. Browse our extensive range and find the perfect oil to keep your engine running smoothly for miles to come!